all orders include Free USA Shipping


Introduction:
All swimming pools and spas loose water naturally through evaporation. When the relative humidity is low, and winds are high, the evaporation rate accelerates significantly. In this article I will be covering both how to detect leaks, determine whether the water loss is due to natural causes like evaporation, or if you have a larger problem like a leak that needs to be repaired. After determining where the leak is there are many different methods that can be used to repair the leak.
It is very common, and likely that at some point your pool will leak. Given enough time it is close to 100% certain that your pool will spring a leak during its lifetime. So don't freak out or get worried if you pool suddenly starts loosing water and you have to keep adding it with a hose. This is simply par for the course for all pool owners as it will definitely eventually happen. Here I will describe some of basics.
Pools are meant to be watertight but gaskets, pvc pipes degrade and deteriorate while other parts of your pool shift and settle or just plain wear out. Pools can leak through any of the fittings or accessories, plumbing, or even right through the shell. It is important to repair leaks, not only to save water, heat, and chemicals, but also to prevent undermining pool structural components and washing away fill dirt that supports the pool walls and pool deck.
Step 1 - Is it only leaking when the pump is running?
This may indicate a pressure-side return leak. With the filter pump on, the plumbing on the pressure side (after the pump) is under pressure. This can open up small drips into spraying gushers. Check the waste or backwash line for water consistently running. One inch of your pool water can equal 500 gallons. Check downhill from a pool, looking for weepers where underground leakage is surfacing. Check for soft or wet spots in the yard, on the side of the pool where the plumbing returns water to the pool.
Step 2 - Is it only leaking when the pump is off?
This usually indicates a suction-side leak, or on the pipes that bring water from the pool. With the filter pump on, the plumbing on the suction side is under vacuum. Air can be drawn in through otherwise leaking voids. You may notice air in the pump basket (if you have a clear lid), air bubbling out of the return lines, or air repeatedly built up inside the filter tank. Use tape or a pencil to mark water levels.
Step 3 - Unsure about above steps or it just always leaks?
This does not rule out leaks in the plumbing, but turns a suspicious eye on the shell of the pool, looking for cracks in the plaster or tears in the vinyl. Look closely at the tile line and look real closely inside of the skimmer(s). The most common leak we fix is a separation between the plastic skimmer and the concrete pool. This is easily fixed with some pool putty. If you see something that looks like a crack, drop some test dye near it with the pump shut off and water still to see if the dye is sucked into the crack. Under water lights can and do leak as well, especially the conduit that runs from the light niche to the junction box. Filling the opening of the conduit in the back of the light niche with pool putty, black butyl tape, or using a cord stopper are ways to fix this problem.
Step 4 - The bucket test

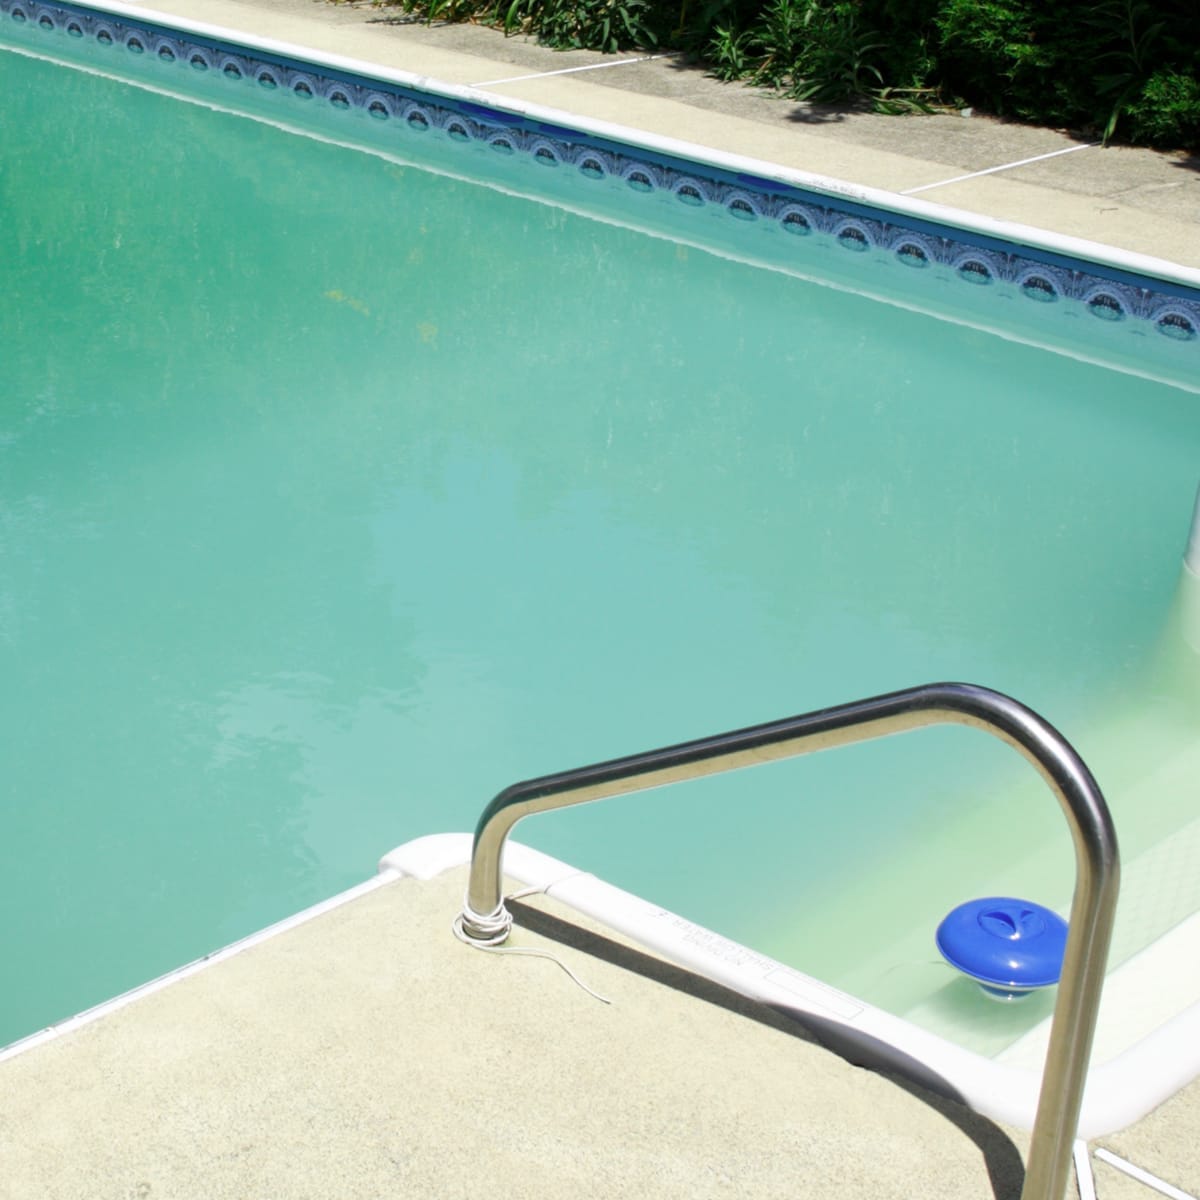
Mark the water level of the pool at the skimmer. Use a piece of tape or grease pencil to mark the water level. Check the mark 24 hours later. Your pool should lose no more than 1⁄4 inch (0.6 cm) per day. Otherwise, a leak is indicated.
Place a bucket filled with pool water on a pool step (weight it with a rock or brick). Mark the water level on both the inside and the outside of the bucket. Make sure the water levels are the same inside the bucket as the pool water level outside the bucket. Check the mark 24 hours later. If there's a greater drop in the line on the outside of the bucket, a leak in the pool is indicated. This test needs to be conducted with the pump on, then again with the pump off.
Step 5 - After bucket test find the leak
Most leaks are at the following locations, they are ranked by most common to least common:
There are many other locations that can leak, but those are the best to start with for the next step
Step 6 - Leak Detection
Shut off all your pumps and use a dye test kit at each of the locations above. A dye test is one way to investigate swimming pool leaks. Red, yellow and blue dyes are used to find a swimming pool leak in the surface of a pool or spa tub. The red dye is the most common while a florescent yellow dye can be used for a dark painted surface. The blue dye is used on light colored pool surfaces.
A dye test works because the concentrated dye is heavier than the water. It is applied with a syringe close to the area where the spa tub or swimming pool leak is suspected. The pump should be off and the water still for this test. The color will be sucked into the crack or fissure that is causing the leak. The dye identifies the area and the water movement into the fissure. All dye colors will eventually dissipate in the water.
Dyes work on all pool surfaces including vinyl, fiberglass and gunite or cement. Fluorescent yellow dye will work well on the vinyl pool with a dark blue surface. The pool can be in-ground or the above-ground style in a frame.
This process is used to find surface leaks when the pool's drain, skimmer and fittings pass inspection. The crack or fissure may be felt rather than seen by an experienced leak detection technician who knows what to look for in the water.
Step 7 - Fix the leak
Comments will be approved before showing up.


Lorna
April 18, 2022
Hello. I need to have my dads spa pool looked at ASAP. The house is in the villages Florida.
Can you help?
Thank,
Lorna